Configuring the iROB® POWER app
- Open the operating app <iROB® POWER App> .
- Allow location query.
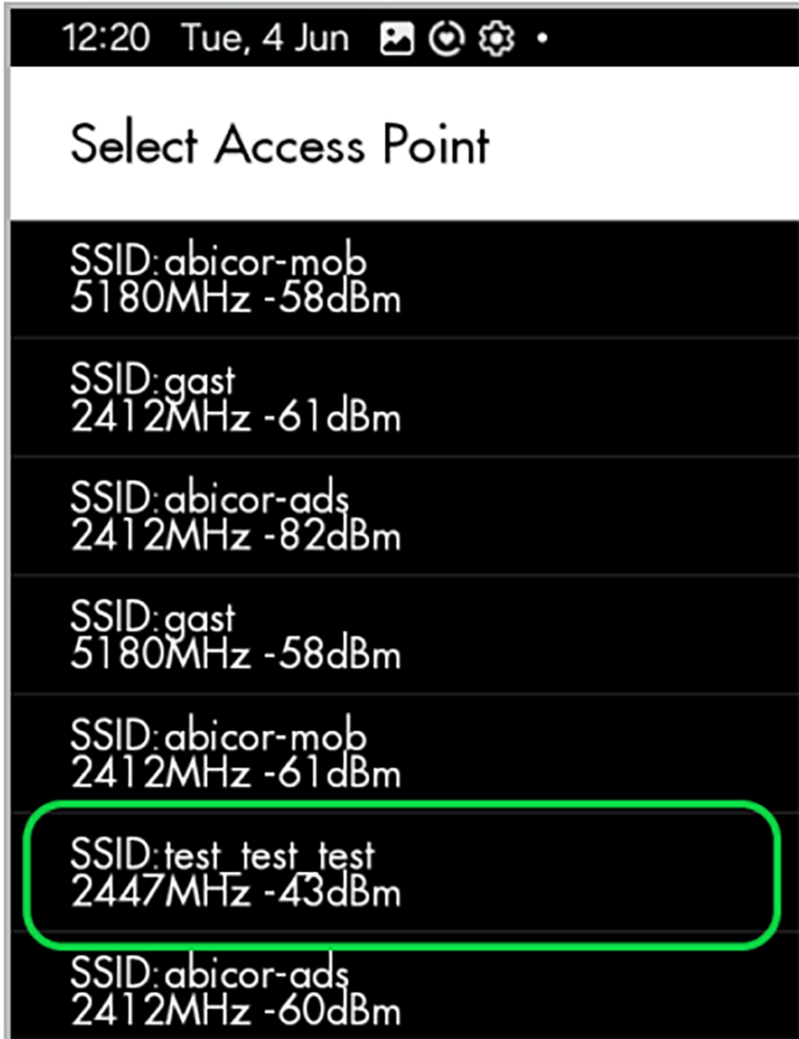
- Look for the SSID assigned previously in the <WinBox 64> on the list and select it
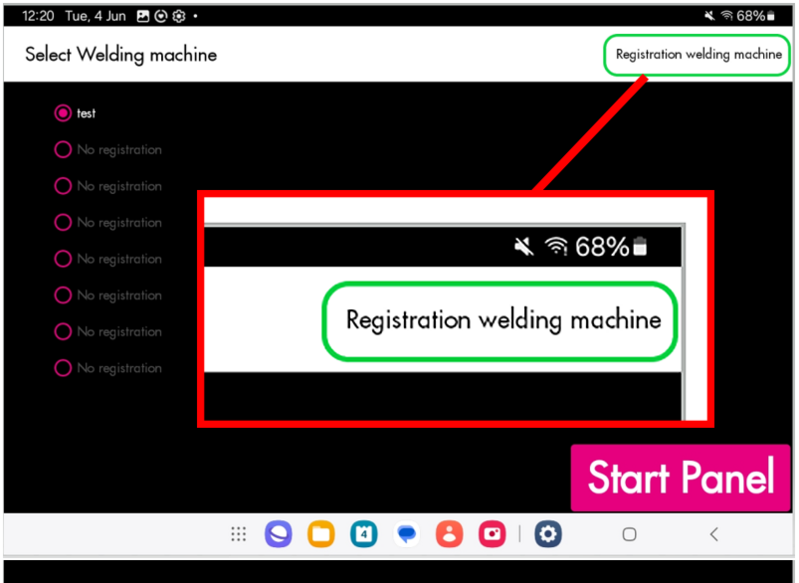
- Select <Registration welding machine> .
Reading the IP address out from the welding power source
The IP address is divided into 4 E-functions.
Example: IP address = 192.168.88.2
No. | Function name | Value |
|---|---|---|
E1 | Set IP Address | 192 |
E2 | 168 | |
E3 | 88 | |
E4 | 2 |
Configuring IP address
- Read out and note all 4 values as follows.
- Keep the
 <Function> key on the control panel of the welding power source pressed until the LED next to the key lights up.
 - Press the
 <Enter> key as often as necessary until the respective E-function is shown.
The IP address of the welding power source should be 192.168.88.XXX. XXX = any number between 10 and 250.
- If the IP address deviates from this, change accordingly to 192.168.88.XXX. Contact ABICOR BINZEL Service if necessary.
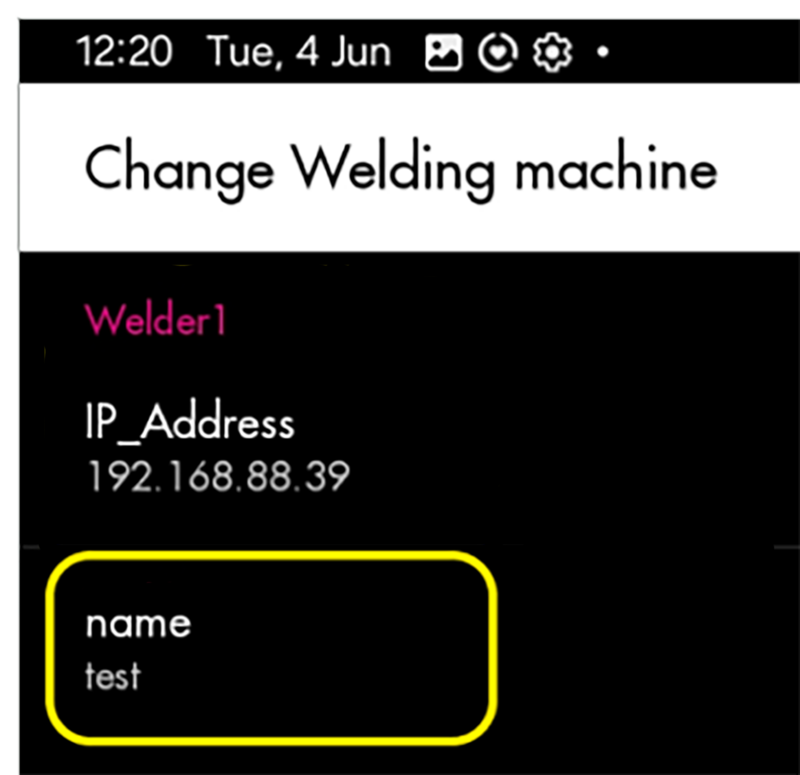
- Enter the IP address of the welding power source on the tablet.

- Enter any name for the welding power source on the tablet.
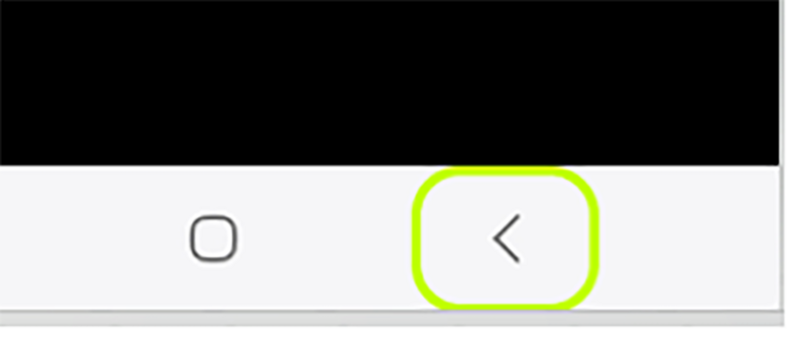
- Select the arrow key to leave the menu.
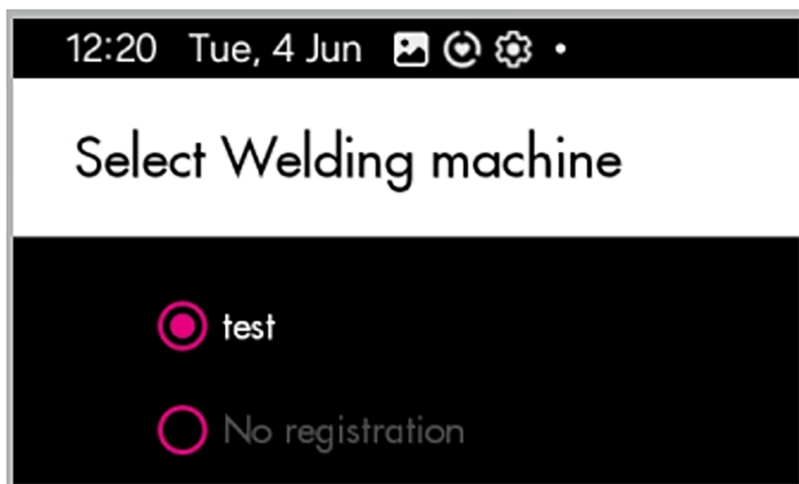
- Select the welding power source.
- Select <Start Panel> .

- Press the key in the operating app or on the control panel of the welding power source for 3 seconds.
The welding power source can now be operated via the operating app <iROB® POWER App> .
